Creating Multi-architecture GitHub Releases for Go Binariesby @ljvmiranda921
This guide will walk you through the steps required to build and publish multi-architecture Go binaries and package and release them to Github. We will demonstrate how this can be done manually through the GitHub user interface, and then we’ll show you how to automate the release process.
This guide assumes you have a basic understanding of Go and Docker, and that you have Go and Docker installed. In addition, this assumes that you know how to create and interact with a Github repository.
Setup a Go project
First, we setup a go.mod file for our project. This file defines the project namespace and dependencies:
module github.com/octocat/hello-world
Then we create a simple Go program. For this tutorial we’ll create a simple http server that responds to an http request with hello world.
|
|
Compile our program
Use the go tool to compile our program to a standalone binary file, and then execute the binary to start the server on port 8080.
$ go build
$ ./hello-world
Use cURL to verify the server is running and responding to requests:
$ curl http://localhost:8080
hello world
We can also change the target location of our executable using the -o flag. Let’s rename and output our binary to a subdirectory
$ mkdir build
$ go build -o build/hello-world-server .
Targeting multiple architectures
The go build command is able to compile programs to different architectures or platforms. This means you can compile code for a target architecture that does not match your host machine architecture.
In order to specify the target architecture we set the GOARCH environment variable. For this tutorial, we’ll target the linux operating system for arm, arm64, and amd64 architectures. Example build commands:
$ GOOS=linux GOARCH=arm go build
In this tutorial, we execute the below command to build multi-architecture binaries and write to a subdirectory. Notice that we’re adding a suffix to the output executable to differentiate between architectures:
$ env GOARCH=arm go build -o build/hello-world-arm .
$ env GOARCH=arm64 go build -o build/hello-world-arm64 .
$ env GOARCH=amd64 go build -o build/hello-world-amd64 .
Create a GitHub release
To create a Github release, we first need to version our project via a git tag. It is highly recommended to tag commits using semantic versioning.
$ git tag v1.0.0
$ git push origin v1.0.0
A release is automatically created on Github when the tag is pushed. You can see it in the Releases tab of your repository.
- Click Releases
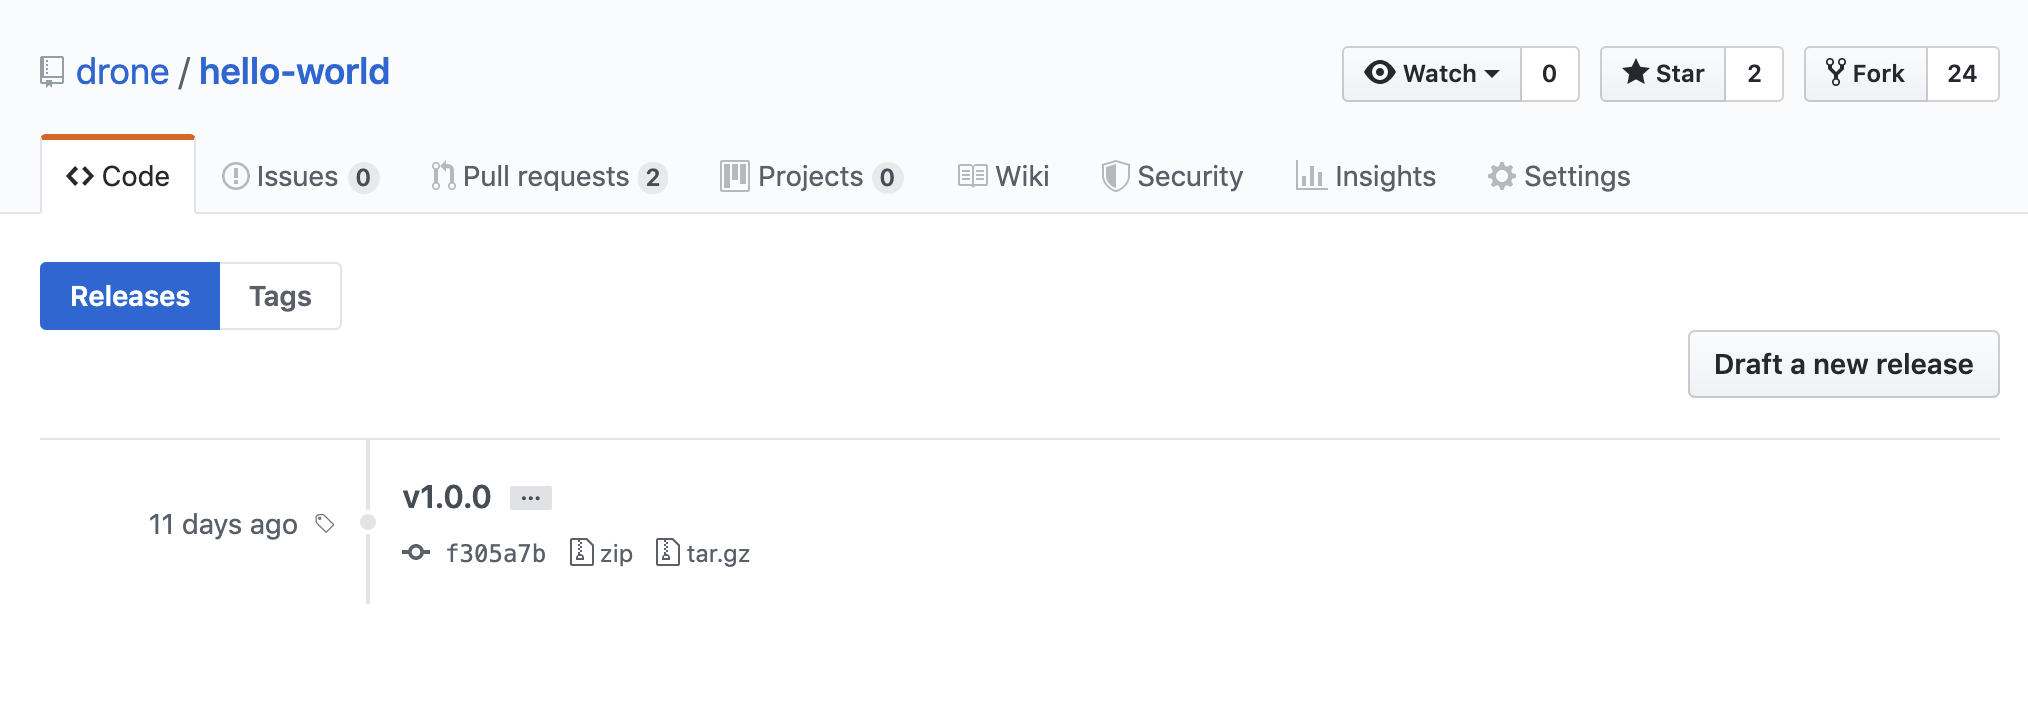
- Click Draft a new release
- Choose the existing tag for the release version. For this example we will use the recently created tag v1.0.0.

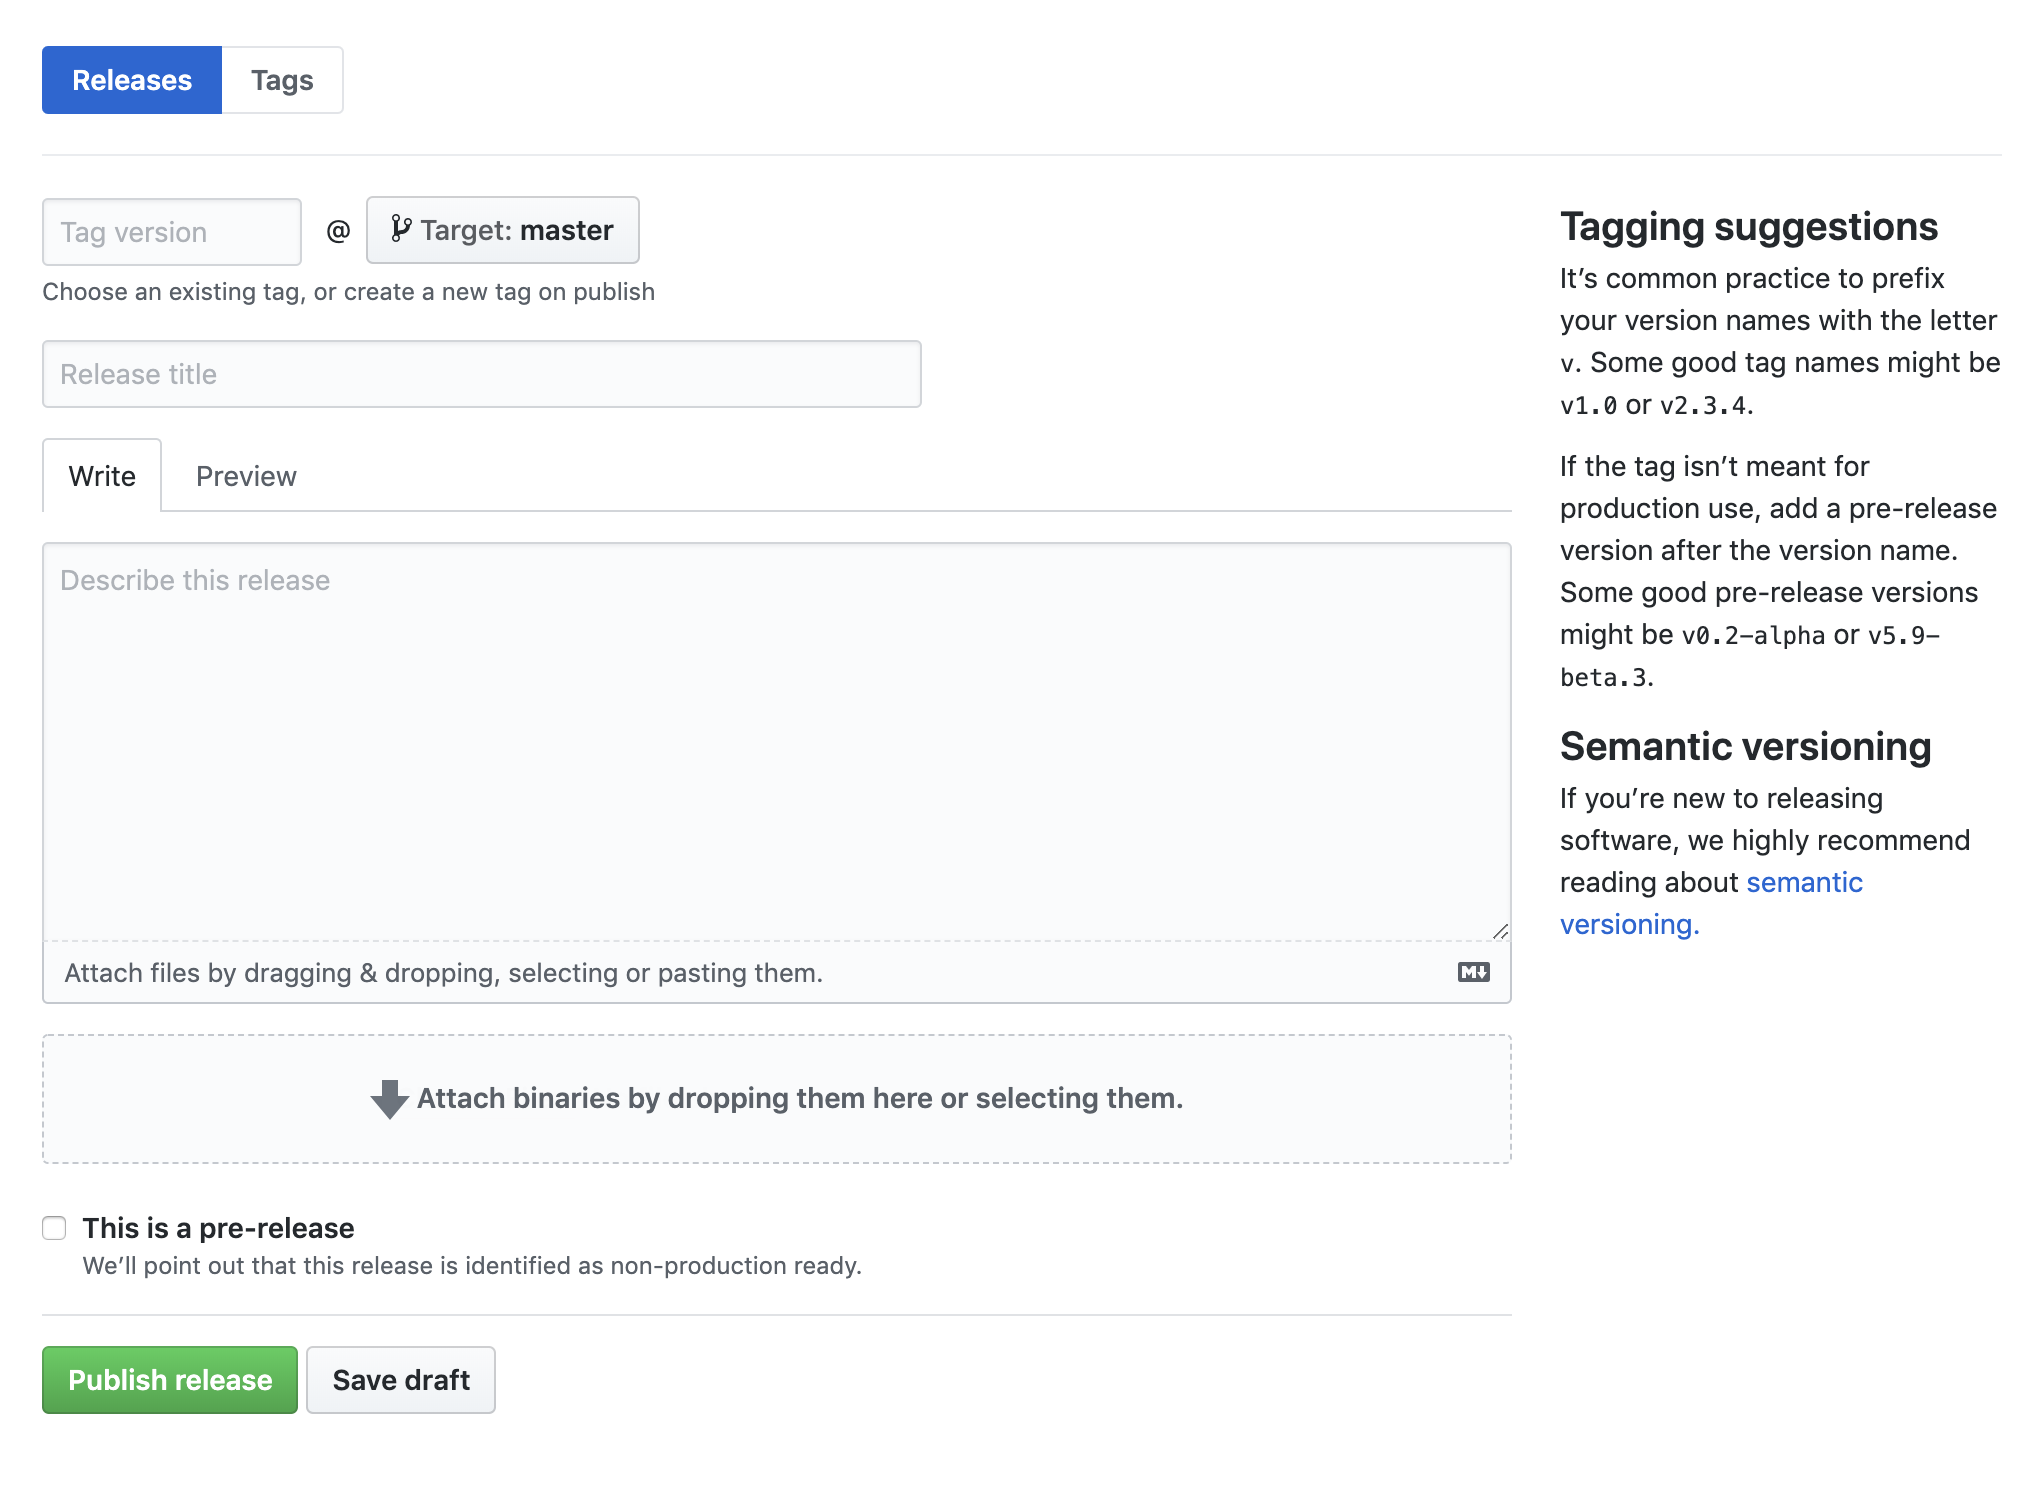
- Create the release title, description, and attach our binary files by dropping them into the upload area. Finally, click Publish Release and you’ll see the following:
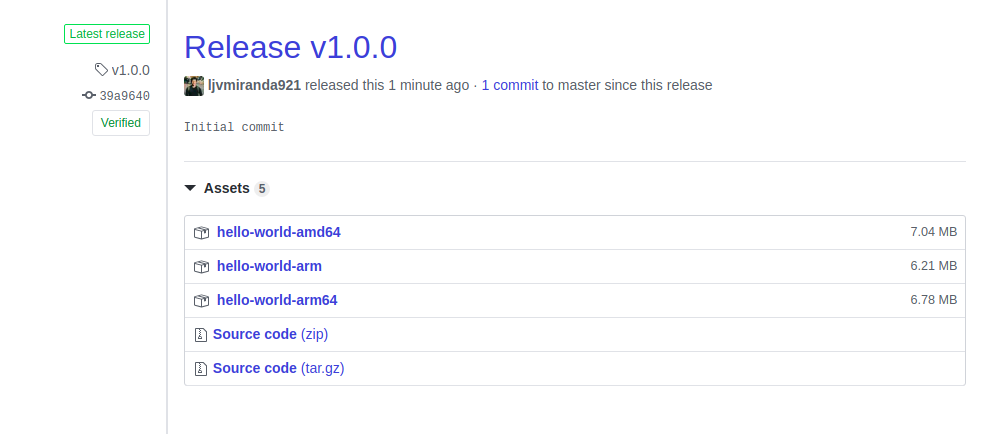
Congratulations, you have now created a multi-architecture Github release for your Go project. In the next section, we will automate most of the steps above, i.e. the build and release process, using the Drone continuous delivery platform.
Setup Continuous Integration
In this section we configure Drone, an Open Source continuous integration system, to automatically build and test our code every time we push to GitHub. You can install Drone on your own servers, or you can use the free Cloud offering.
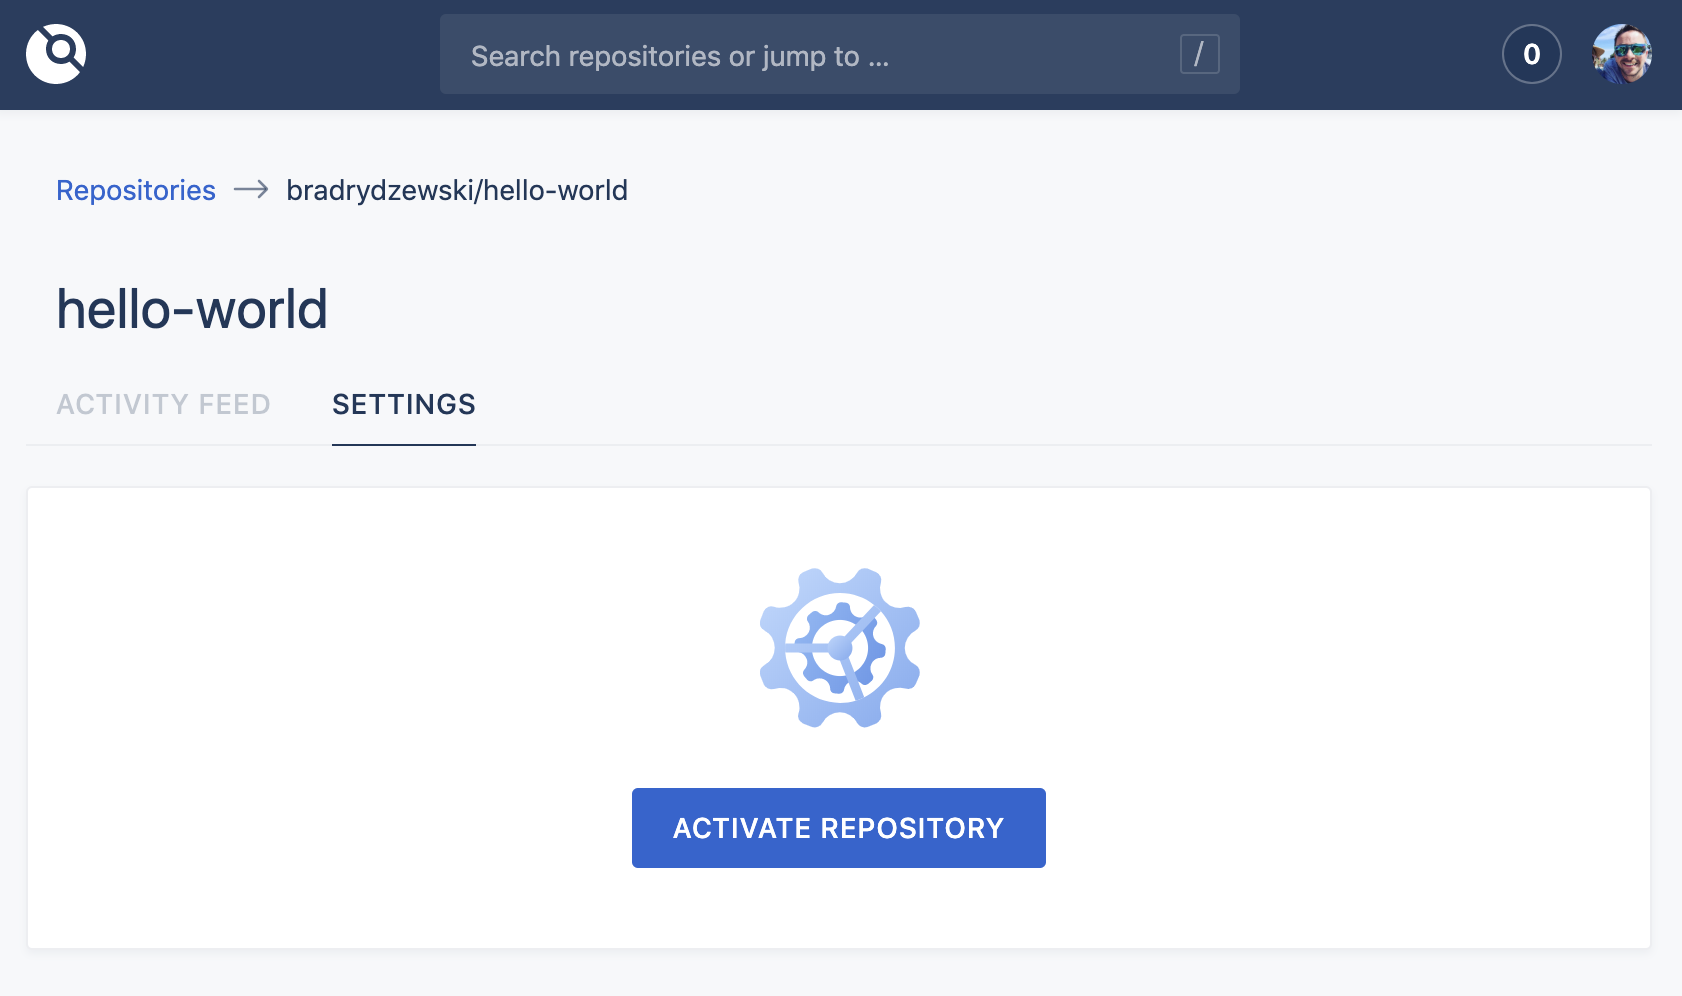
Activation
First, login into Drone and activate your repository:
Configuration
Next, define a Continuous Integration Pipeline for your project. Drone looks for a special .drone.yml file within repositories for the Pipeline definition:
|
|
The name attribute
Defines the name of the Pipeline step
|
|
The image attribute
Defines the Docker image in which Pipeline commands are executed.
|
|
The commands attribute
Defines the Pipeline commands executed inside the Docker container.
|
|
Execution
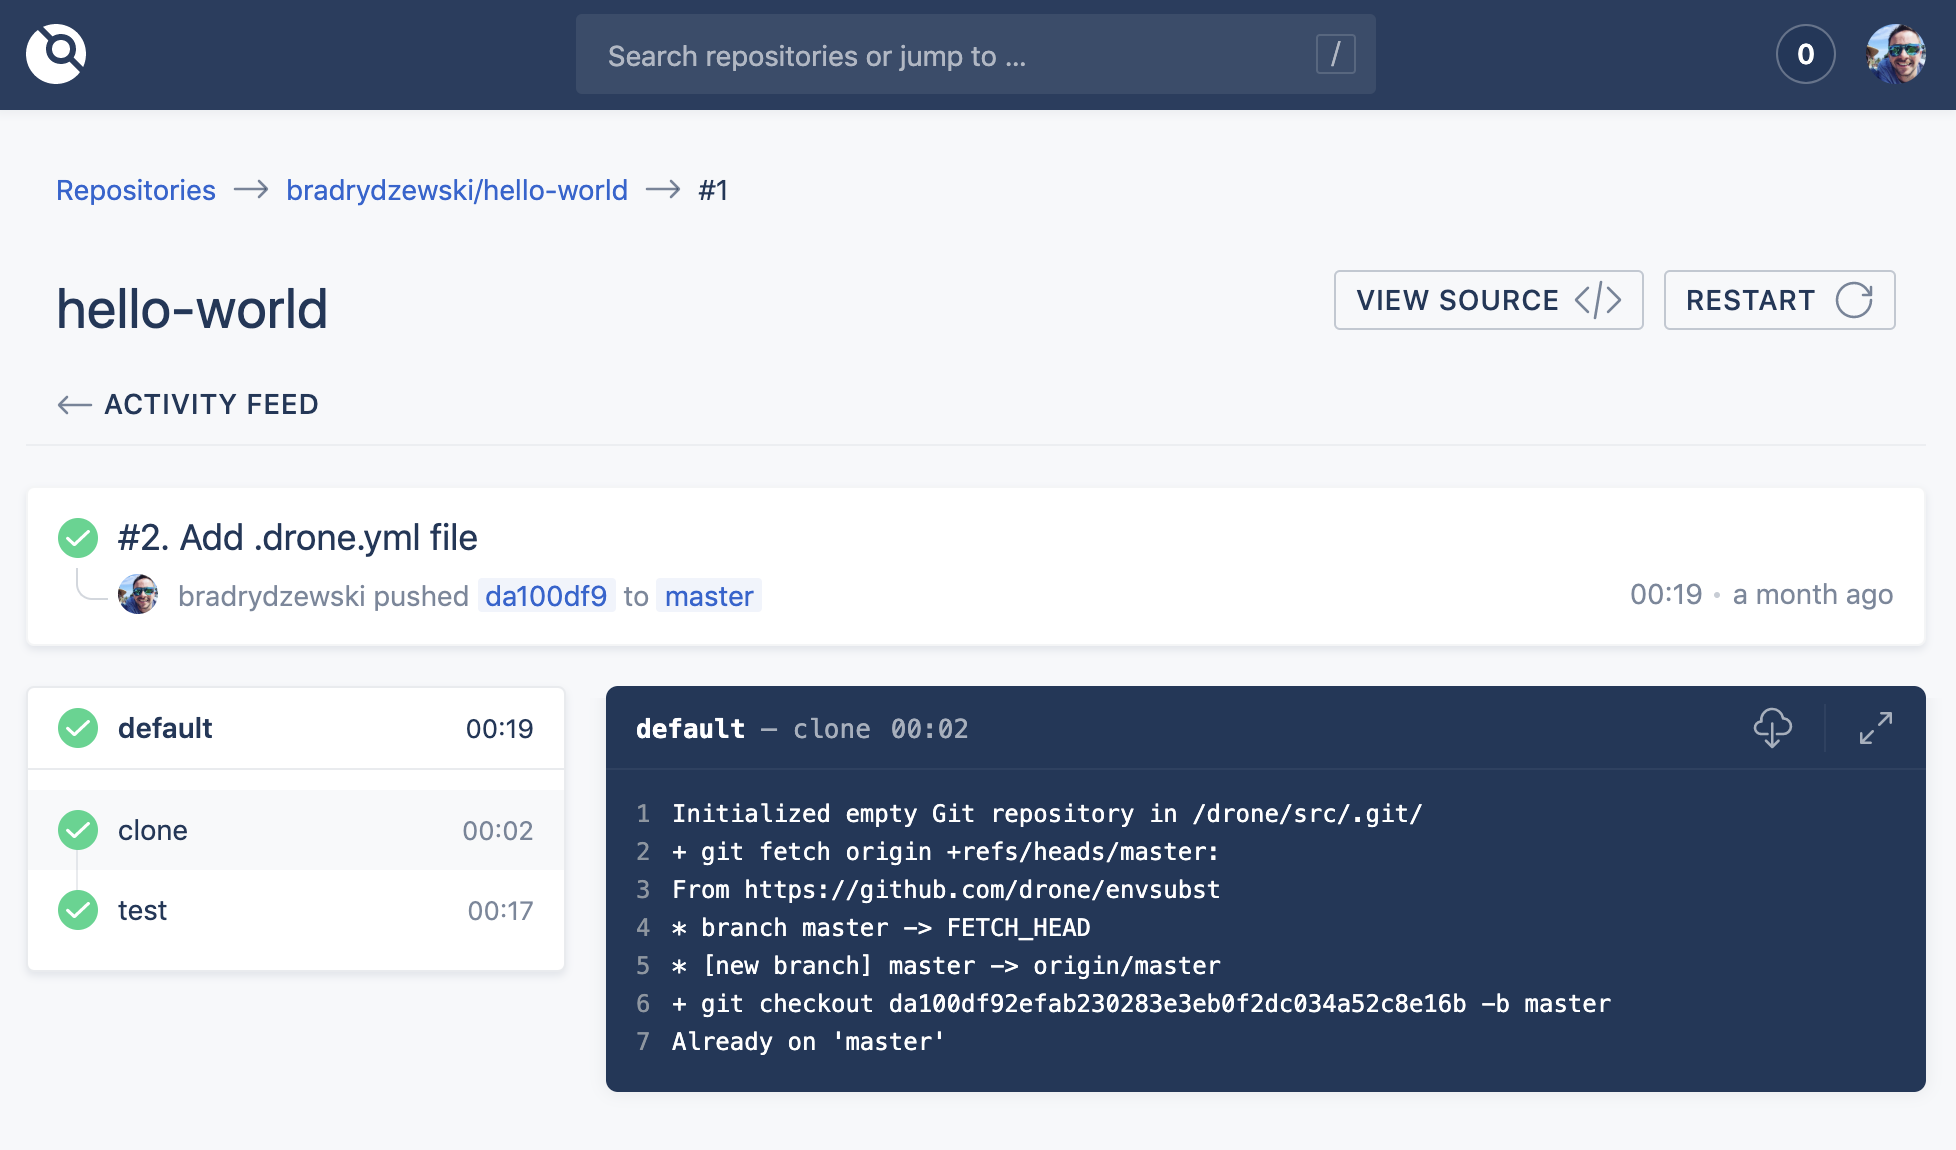
The Pipeline will execute every time we push code to our repository. We can login to Drone and inspect the Pipeline results:
Setup Continuous Delivery
The final step is to automatically create the GitHub release and upload our binaries using the Github Release plugin. In the below example we add a publish step to our pipeline using the release plugin:
|
|
The image attribute
Defines the plugin image used to create the GitHub release.
|
|
The api_key attribute
Provides a GitHub personal API token. You can obtain an API token by following these instructions.
|
|
For security reasons we do not want to store our token in plain text in our yaml. Instead we store the token as a secret, and we source the value from our secret. You can manage secrets from the repository settings screen.
The files attribute
Define the path to the binaries you wish to upload.
|
|
The title attribute
Define the title of the release. Here, we’re basing our Release Title on the Git tag. This value is accessible via environment variable.
|
|
The event attribute
Define conditional execution for a pipeline step. We only want the publish step to execute when we push a tag.
|
|
Next Steps
Now that you have Drone automatically creating releases and publishing your binary distribution you can add more advanced Pipeline steps. For example, you can automatically publish coverage reports or send Slack notifications to your team every time your Pipeline completes.